
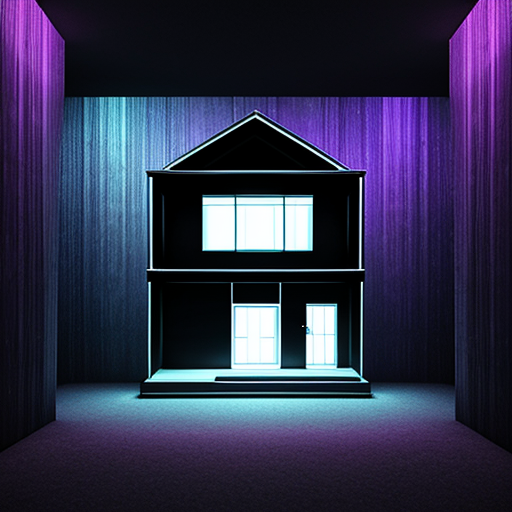
Introduction: Why Virtual Staging Matters
Virtual staging has transformed the real estate industry. Instead of spending thousands on physical staging, agents and homeowners can now furnish properties digitally with just a few clicks. Whether you're selling a studio apartment or showcasing a multi-million-dollar listing, virtual staging software can be a game-changer in boosting buyer interest, reducing time on market, and increasing property value perception.
But how exactly does one use a virtual staging software? If you're a beginner, this guide will walk you through every step of the process, from choosing the right software to exporting your final photos. Even if you already use staging tools, there might be features or tricks you haven't tapped into yet. Let's dive in.
Read about the best virtual staging softwares and apps for real estate and realtors 2025 (DIY and free download reddit): Virtual staging software
Step 1: Choose the Right Virtual Staging Software
There are dozens of virtual staging tools available. Some of the most popular include:
ApplyDesign
BoxBrownie
Virtual Stager
RoOomy
VisualStager
Styldod
Each of these has strengths. For example, ApplyDesign and VisualStager allow DIY editing, while BoxBrownie offers professional designers who do the staging for you.
Key Features to Look For:
Furniture and decor libraries
Drag-and-drop interface
Room-type presets (bedroom, living room, etc.)
Custom upload options
Lighting and shadow control
Before/after comparison
Export resolution (for MLS or web)
Step 2: Take High-Quality Photos
Virtual staging starts with a clean, well-lit photo of an empty or sparsely furnished room. Here are a few tips:
Use a DSLR or high-resolution camera. Smartphone photos can work, but quality matters.
Shoot during the day. Natural light improves clarity and reduces editing needs.
Capture from chest height. This ensures balanced perspectives.
Avoid wide-angle distortion. Don’t overuse wide lenses; it may misrepresent room size.
Remove clutter. If the space isn't empty, clean it thoroughly.
Some software tools offer in-app camera tips or AR shooting aids to guide framing.
Step 3: Upload the Photos into the Software
Most apps allow you to drag and drop or browse and select photos to upload. Once uploaded, the software may auto-detect the room type, or you can manually select from categories like:
Living Room
Bedroom
Kitchen
Bathroom
Office
If you're using a service-based tool (like BoxBrownie), this is also where you submit staging instructions to their design team.
Step 4: Choose and Place Furniture
Now comes the fun part—designing the space! Tools like ApplyDesign or VisualStager have 3D libraries categorized by room and style:
Style themes: Modern, Farmhouse, Scandinavian, Mid-century
Item types: Sofas, beds, rugs, lamps, art, curtains, accessories
Steps to design:
Drag and drop items into the room.
Rotate, scale, and move items to fit perspective.
Use shadows and lighting tools to match room lighting.
Zoom in and refine. Tiny adjustments can have a big impact.
Some AI-powered tools will even auto-fill furniture based on your room type and style preferences, giving you a starting point to fine-tune.
Step 5: Customize and Brand Your Staging
Want to stand out in listings?
Add branding overlays: Company logos, watermarks, or contact info.
Use templates: Some platforms offer flyer or social media layouts.
Label rooms: Add subtle text overlays like "Master Bedroom" or "Guest Suite."
Virtual renovation: Many platforms allow flooring swaps, wall color changes, or full digital remodeling.
These touches help differentiate your listing while giving buyers visual cues.
Step 6: Export Final Images
Once you're satisfied with the layout and look, export the photos. Consider the following:
MLS-optimized resolution (usually 1024x768 or higher)
High-res versions for brochures or websites
Before/after comparison sets
Some tools even offer zip file downloads with various sizes for different platforms.
Step 7: Use Staged Images in Marketing
Here are smart ways to use your virtually staged photos:
MLS listings: Upload as primary gallery images.
Zillow, Redfin, Realtor.com: Stage multiple rooms to improve perceived value.
Social media: Use carousels on Instagram or slideshows on Facebook.
Property websites: Create a gallery with before-and-after toggles.
Print: Use high-res for brochures, signage, or postcards.
Make sure to disclose that the staging is virtual to comply with real estate guidelines.
Bonus Tips for Better Virtual Staging
Don’t over-stage. Keep it realistic and tasteful.
Use neutral tones. Appeal to a wide range of buyers.
Show room functionality. Help buyers imagine how to use the space.
Avoid duplicate items. Mix up the decor so every room feels unique.
Track performance. Test staged vs. unstaged listing photos to see what works best.
Troubleshooting Common Issues
Photos look fake or flat? Adjust lighting and shadows.
Room looks cluttered? Remove or scale down accessories.
Furniture looks out of place? Re-check perspective and alignment.
Slow software? Try using a faster browser or updating your device.
Who Can Benefit from Virtual Staging Software?
Real Estate Agents: Make every listing pop.
Property Managers: Showcase vacant rentals.
Homeowners: DIY staging before selling.
Interior Designers: Mock up ideas for clients.
Investors/Flippers: Market unfinished homes with virtual finishes.
Final Thoughts: Is It Worth Learning?
Absolutely. With a little practice, anyone can turn a bland photo into a buyer magnet using virtual staging software. The tools are more powerful and affordable than ever, and the ROI can be huge when staged images help a property sell faster and for more money.
Whether you’re staging one condo or managing dozens of listings, this skill can set you apart in the competitive real estate landscape.
Want a quick recommendation? Start with ApplyDesign or VisualStager if you prefer a DIY drag-and-drop approach. Choose BoxBrownie if you want someone else to handle the design for you. Either way, the future of real estate marketing is digital, and virtual staging is leading the charge.


Write a comment ...